It’s the time of year when good insulation matters most. With cold snaps a plenty, and unseasonably changeable weather, your home’s network of water pipes are likely facing a bigger challenge than they would, ordinarily.
Uninsulated pipes can prove dangerous and costly if you’re not careful, so it’s well worth getting your pipes sorted, for both your safety and your wallet. You can even get your kids to help as a fun activity to keep them busy, killing two birds with one well-wrapped-up stone! First, though, Suzie Alcott, from Pipe Lagging here in the UK, explains just why exactly water pipes need insulating in the first place.
What Are The Dangers Of Uninsulated Copper Pipes?
-

Source: bankrate.com
Virtually all water pipes in the UK are made from copper; this is a metal with very high conductivity, which makes it great for transferring hot water – perfect for what they’re used for. This also means, however, that they run the risk of getting very cold, too. In cold weather, when the temperature of the metal drops, the water within is more likely to freeze. When water freezes it expands, and this therefore puts additional pressure on the insides of the piping.
New pipes might more easily be able to withstand this pressure – although it’s no guarantee – but in older pipes, in particular, which have started to lose a little of their strength, they’re prone to bursting from this pressure.
This can lead to a home being flooded, personal possessions ruined and pets put at risk if they’re left alone in the home when the burst occurs. In short, it’s a bit of a nightmare, and nobody wants to have to deal with it.
Another issue with uninsulated pipes, although slightly less dramatic, is that they can lead to damp forming in the adjacent walls, because the pipes form a good surface on which condensation forms.
What Is Lagging?
Lagging is the industry-wide accepted term for piping insulation (as well as for water tanks and other similar heating machinery). It can be made from several materials, although most commonly used is polyethylene, elastomeric foam and cellular glass.
If you’re trying to visualize what lagging looks like, then all you have to picture is one of those swimming pool noodles, and imagine one of those wrapped around your home’s piping. So, we now know why lagging is needed, what it’s made from, and what it looks like. How, though, do you go about installing your pipe lagging?
Easy Pipe Lagging Installation
-
Source: terralana.co.nz
Yes, it really is so easy that your children can help you with it! It doesn’t take too long to do, requires no specialist equipment (beyond the lagging, itself, which typically only costs around £2-£3 per meter) and will make a noticeable difference right away, for the safety of your pipes as well as their efficiency! And more efficient pipes means cheaper energy bills throughout the year!
Step 1: Turn Off Your Central Heating & Hot Water
To insulate your hot water pipes, first ensure that the central heating and hot water is turned off, and the pipes have been allowed to cool fully. This ensures you can work in close proximity with your piping without risk of injury.
Step 2: Cut Your Pipe Lagging
-
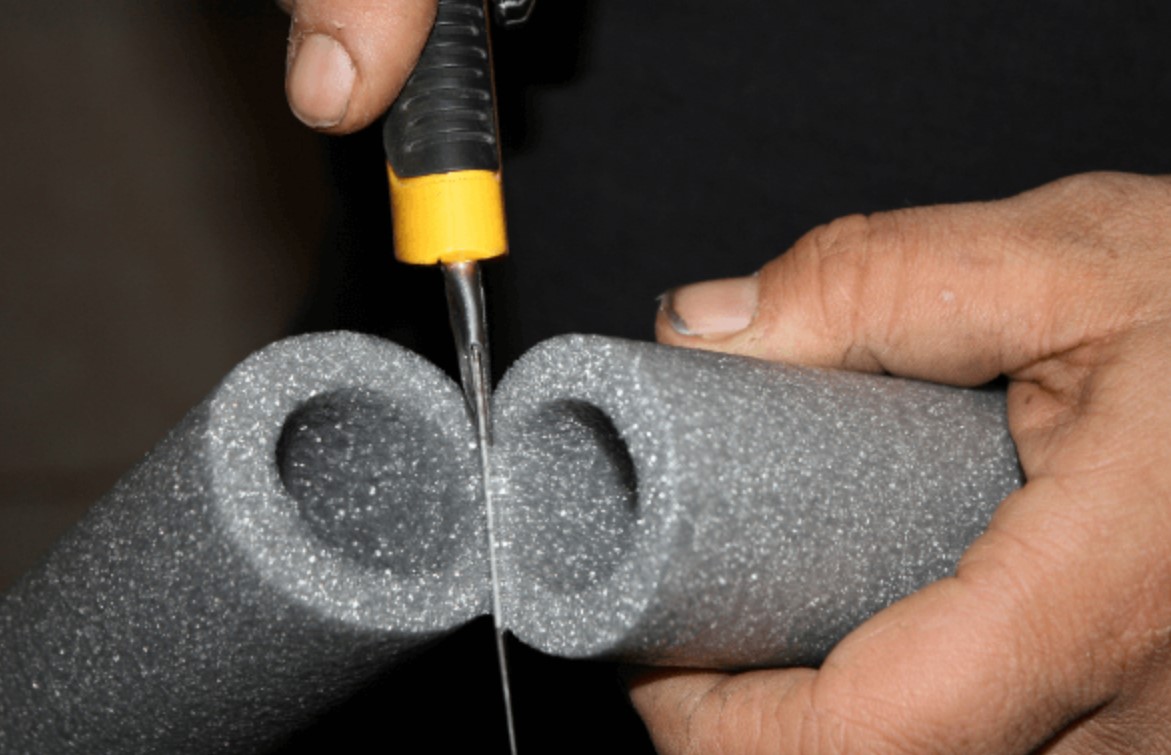
Source: firewood-for-life.com
Next, using either a sharp knife (one with a serrated edge often works better for this) or pair of scissors, cut a straight line down the lagging so that you can wrap it around your piping. Once this is done you can start applying the lagging around your pipes.
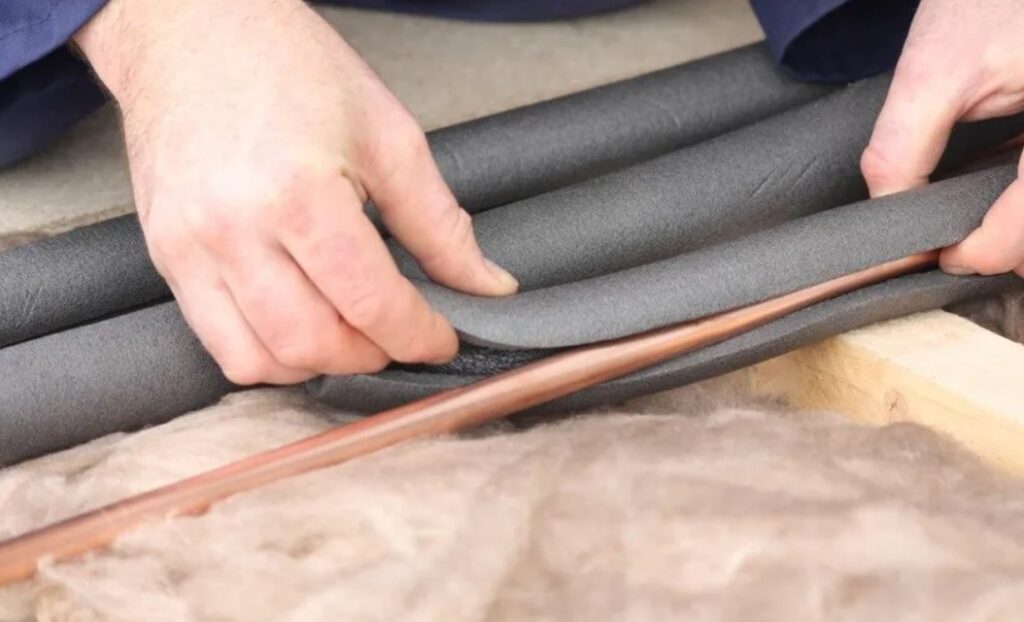
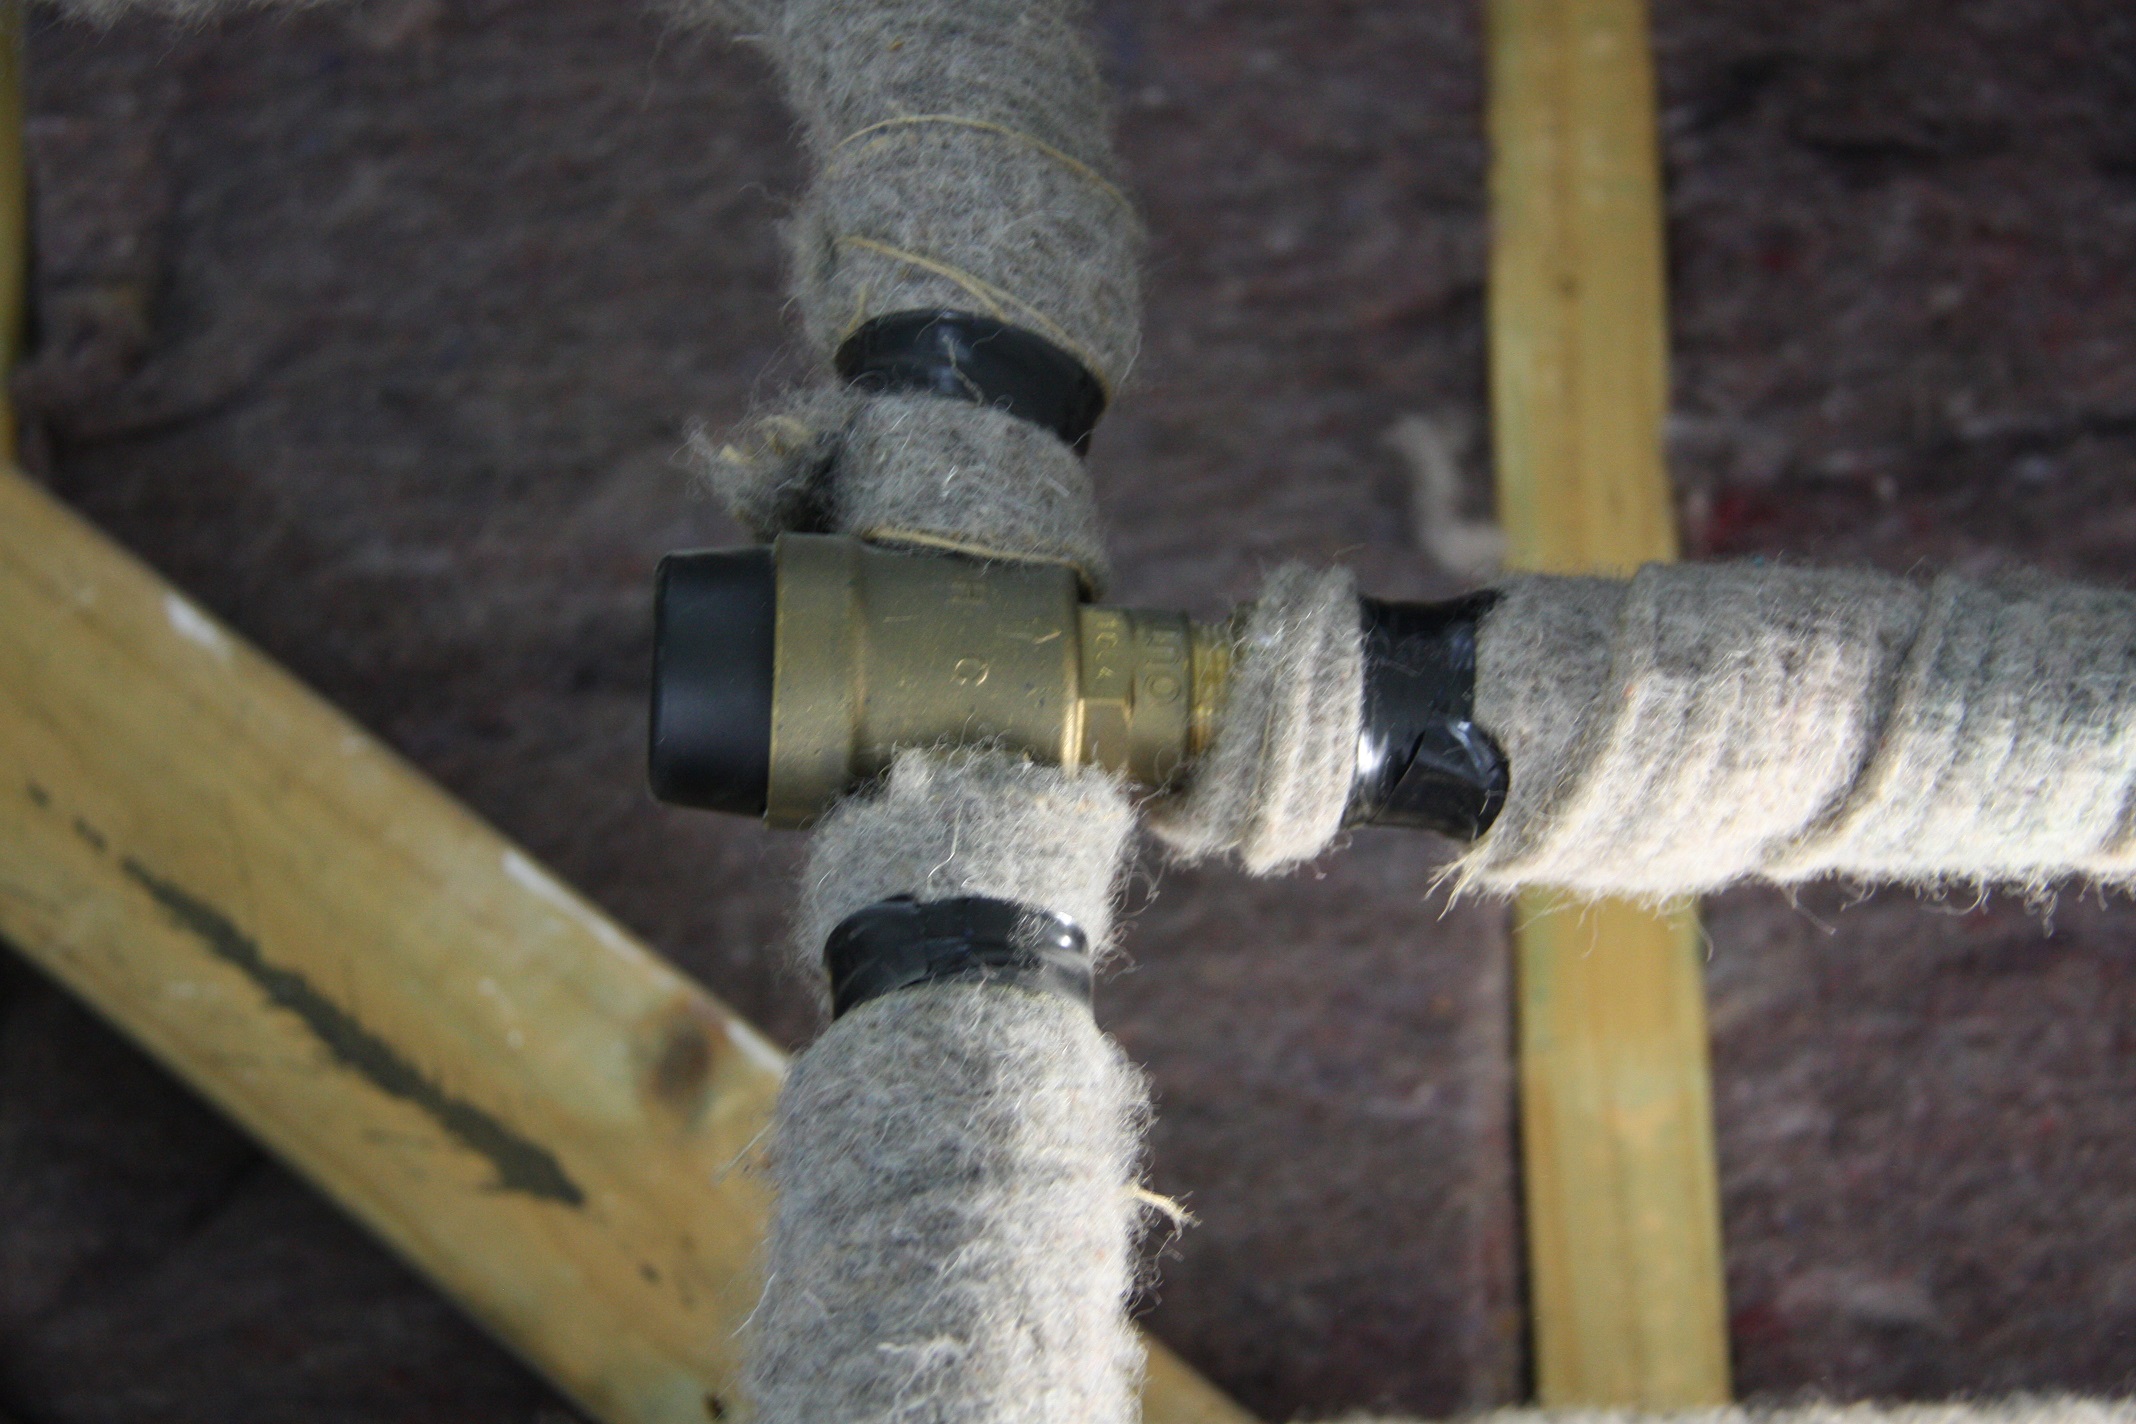
Step 3: Applying Your Pipe Lagging
To apply your pipe trunking simply take your length of material (which you’ve cut to the appropriate pipe length) and wrap it around the pipe in question. A top tip is that you can get lagging in various different diameters, so make sure you purchase the lagging with the most similar diameter to your piping, to give the best possible fit. You can either apply your lagging in one, straight length in cases where you’ve got an uninterrupted long-running section of pipe, or install several adjoining sections of lagging.
Step 4: Securing Your Lagging
All that’s left to do now is to secure your lagging in place, and to tape up any consecutive sections of lagging. All that’s needed for is a roll of duct tape; go along the insulation material and tape around to secure it – you should tape fairly frequently so that the material is kept snug along the entire pipe, and so there aren’t any bits left which end up being looser, and thus less efficient.
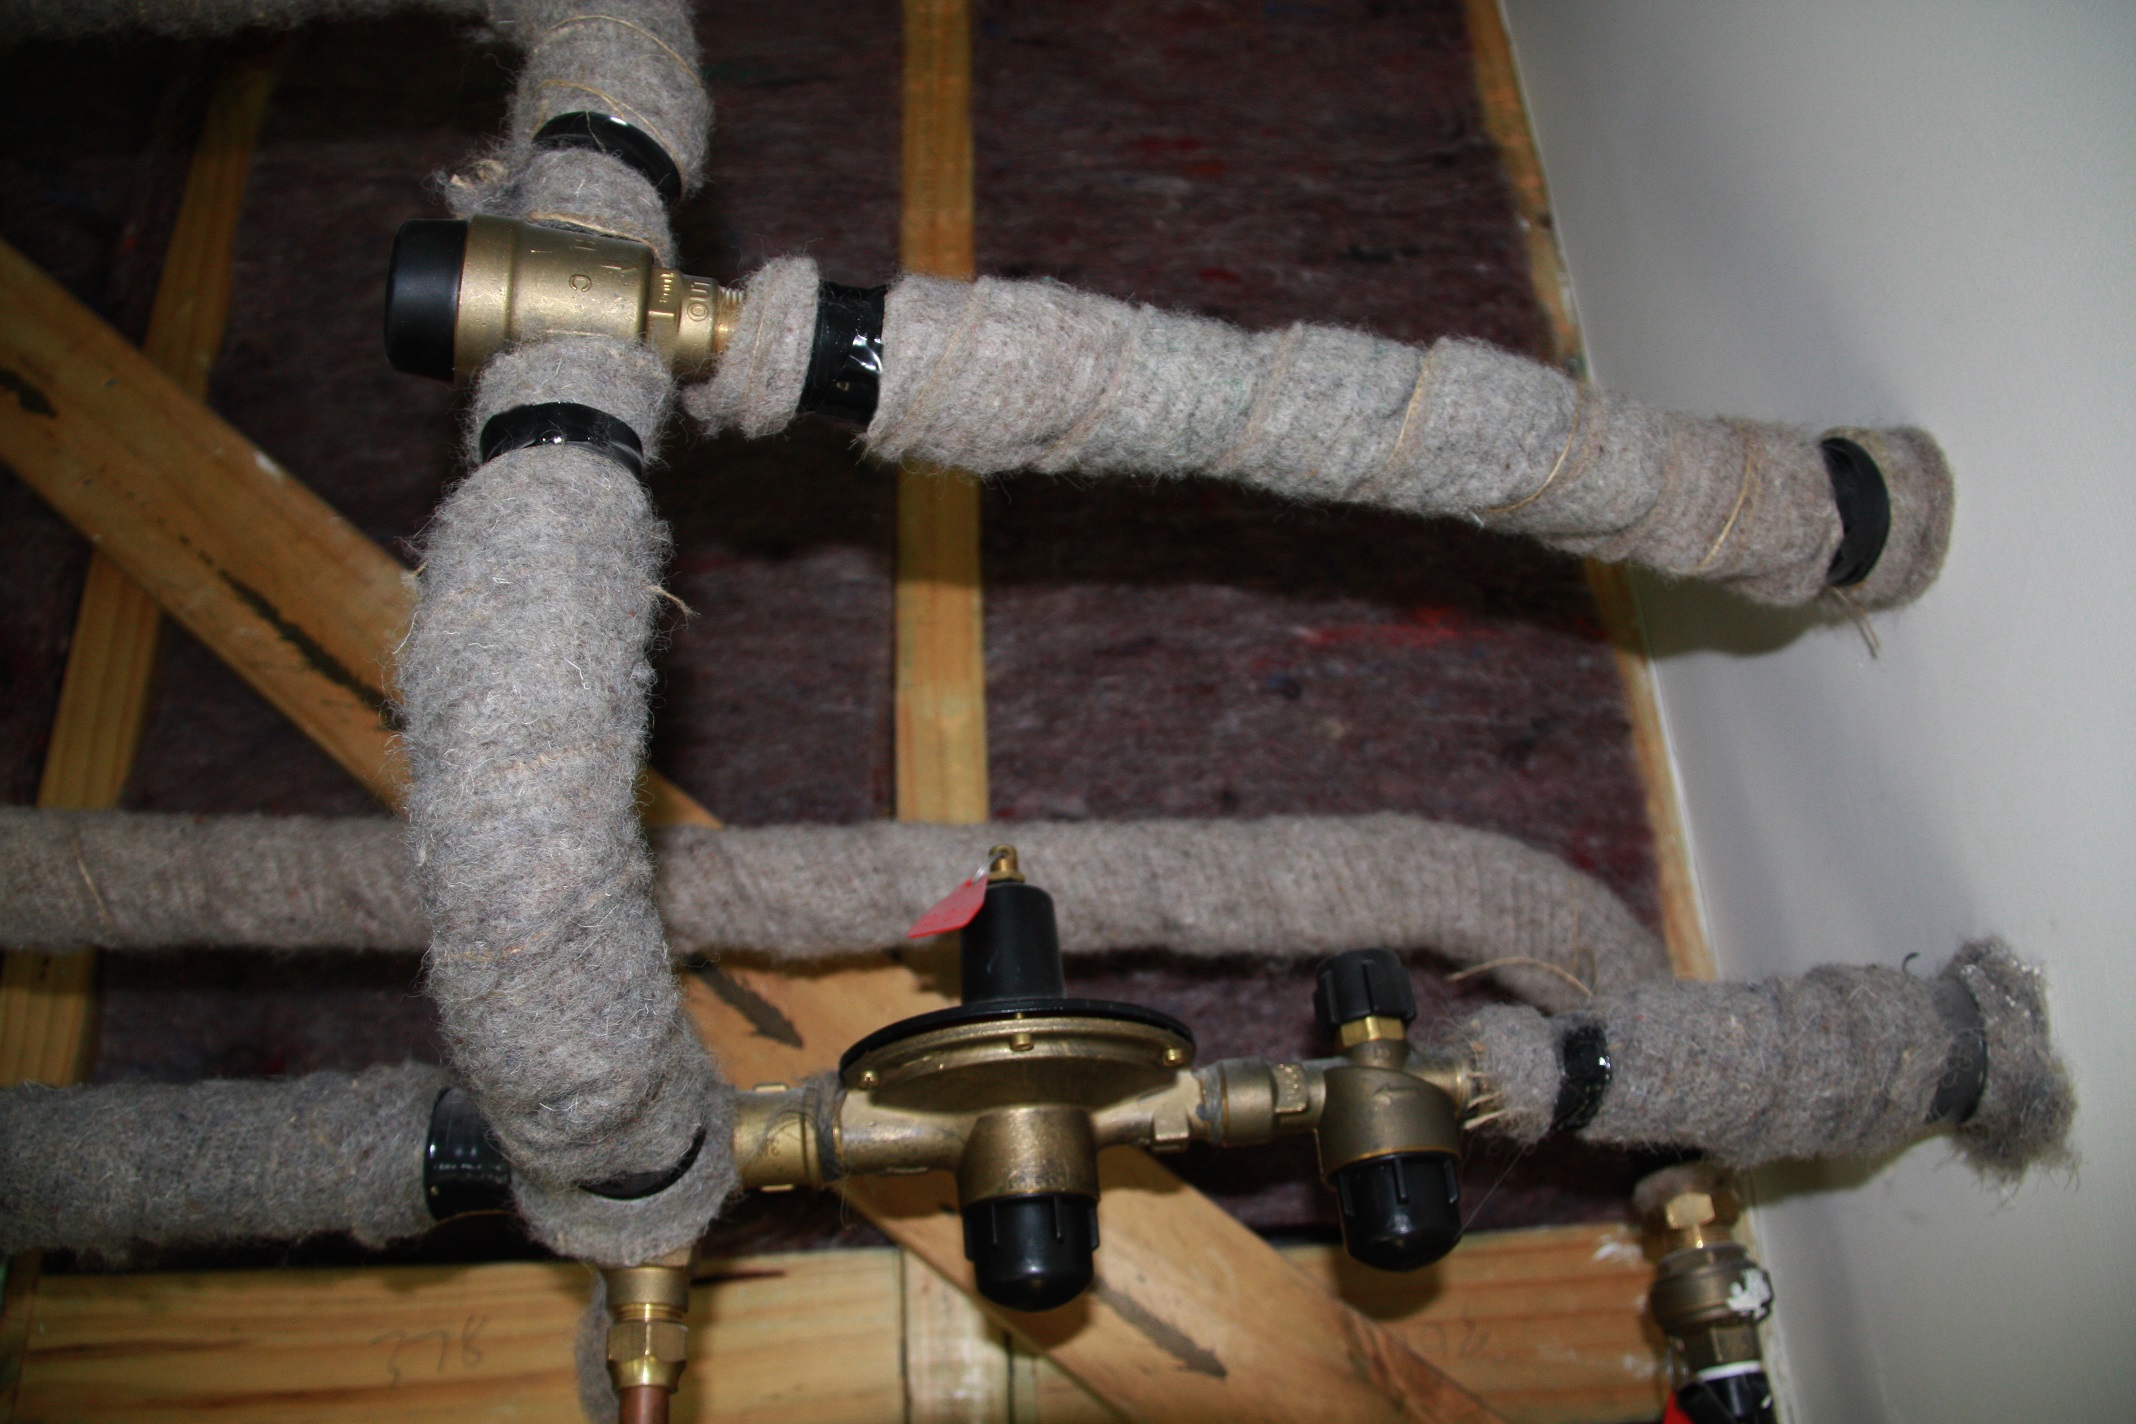
Step 5: Give Your Pipes A Final Check
-
Source: terralana.co.nz
Once you’ve secured your lagging with duct tape, you’re pretty much done insulating your pipes! All that’s left to do is give the pipe network a quick once over, make sure there are no spots you’ve forgotten, and that the lagging is attached as securely and snugly as possible. Then, you can turn back on your heating and hot water, happy in the knowledge that your pipes are safer, and your wallet fuller!
Other Lagging Tips
If there’s a 45 degree angle in your pipe, then you should cut the end of your lagging also at a 45 degree angle – on both adjoining pieces – so that the two can slot together more seamlessly, and be taped together more easily.
Another tip is to carry out this lagging installation before you’ll likely need it. What do we mean by this? Lagging is most essential in the winter, and you don’t want to have to turn off your heating and hot water at a time when it’s most useful, even if it’s only for an afternoon. It’s more practical, therefore, to install your lagging in the warmer, summer months.